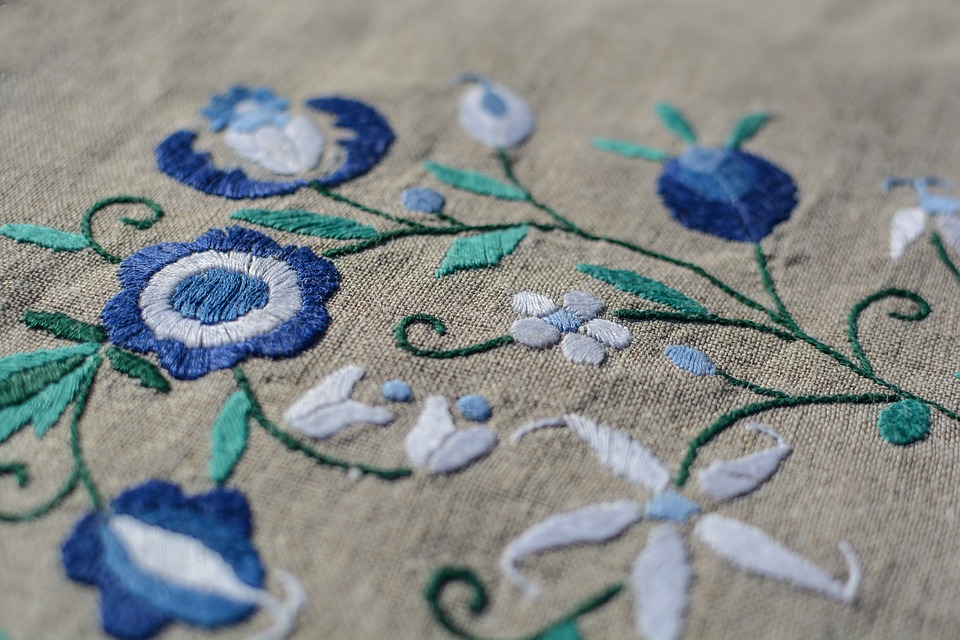
Embroidery is a technique that injects a perfect aesthetic touch to your uniform. Whether it’s workwear or sports attire, customization with embroidery gives them an amazing look. With uniform embroidery services, you are able to add floral prints and custom logos to your attire thus setting them apart from the rest. You just need to play with several embroidery concepts to determine the pattern and style that suits your uniform. You can actually do the customization on your own.
The Materials
• Plain Uniform
• Embroidery hoop
• Sewing needle and threads
• Embroidery image
The DIY Steps
1. Prepare the Embroidery Hoop
You can begin by touting your plain uniform within the embroidery hoop. This is to give the fabric a tough feel before you begin the customization. Separate the inner hoop from the outer one and place the inner one on the back of your chosen fabric swatch. Loosen the outer hoops’ screw and put it in front of your fabric.
2. Sketch Your Image on the Uniform
Using a washable pencil, you should draw your image on the uniform that you want to embroider. Whether it’s a logo or picture, you should draw it as it appears on the original image.
3. Prepare your Sewing Apparatus
You should prepare the threads and needles that you want to use. The threads should be in different lengths, thickness, and colors. The choice depends on the design of your uniform and the embroidery patterns you want.
4. Tie a Stop Knot
You should pass a thread through the eye of the needle and tie a stop knot at the end. The knot is meant to avert the thread from running through the uniform.
5. Start Sewing
Follow the sketch promptly and sew gently and perfectly. So long as your hands are steady, you should be able to accomplish the embroidery.
6. Make a Backstitch
It’s necessary to affirm the stitch after you are halfway through your sewing. A backstitch is created by repeating steps 4 and 5 in reverse direction.
7. End the Knot
After you are done with a section of the image that you are embroidering, you should tie a knot close to the material. This marks the completion of the customization and you can repeat the steps in each uniform.
Final Thoughts
By and large, the above steps are great for customizing a small number of uniforms. If your uniforms are many, you may consider professional uniform embroidery services near you as they’ll be able to do the bulk customization fast using machines.


