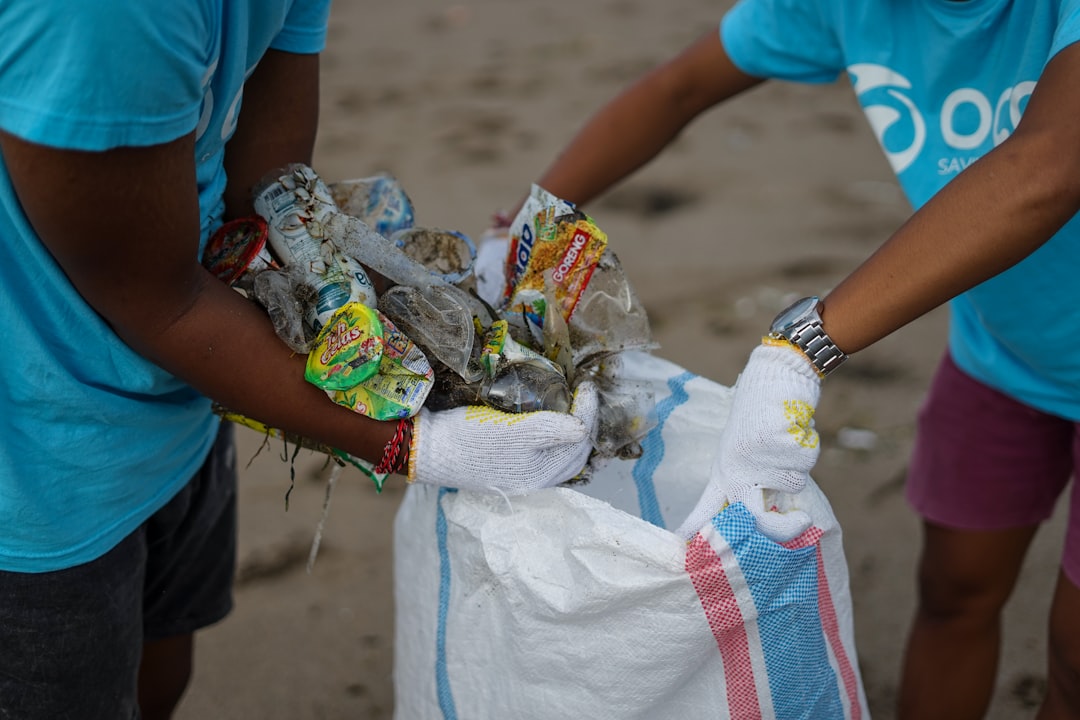
Imagine a heavy downpour and the basement walls start to show damp patches. Water intrusion into foundations is a headache that can cause mold, rot, and structural weakening if ignored. Protecting your building’s foundation with exterior waterproofing isn’t just about stopping leaks; it’s about preventing damage before it starts. One practical method involves applying a liquid rubber membrane that forms a tight, flexible barrier against moisture. This material attaches well to concrete, wood, and even surfaces submerged in water, like pools, adapting to the structure’s movements without cracking.
Applying waterproofing on the outside of your foundation usually means more than just slapping on a coat of sealant. It often includes installing drainage layers or gravel beds to divert water, plus membranes that block moisture. The liquid rubber membrane stands out because it’s simple to spread on uneven surfaces and creates a seamless shield. Unlike rigid materials, this membrane can stretch under pressure without failing, which is vital for foundations that settle or experience temperature shifts.
For homeowners considering a DIY project, the appeal of liquid membranes lies in their straightforward application. They often come ready to use and require only basic tools like a brush or roller. Preparation matters: surfaces need to be clean and dry, any cracks patched with compatible fillers, or the membrane won’t adhere properly. A common mistake is rushing this step, leading to peeling or missed spots. Taking time to prep not only ensures better coverage but prevents costly redo work later.
Coverage rates for liquid membranes are surprisingly good. For example, one pint may cover around 10 to 12 square feet depending on surface texture. This means you can plan purchases efficiently without overspending on product. It also makes applying multiple coats manageable within a weekend project. Keep in mind that thicker applications improve protection but add drying time. Reading the product’s technical sheet, often overlooked by DIYers, can save headaches by clarifying how many coats are recommended and drying conditions required.
Choosing the right waterproofing approach involves balancing cost with durability. Cheaper interior sealants might stop minor moisture seepage but don’t address the root problem: external water pressure pushing against your foundation walls. Exterior waterproofing tackles this pressure head-on. While it might involve more upfront work, its longevity often justifies the effort. Also, some products degrade under UV exposure if applied above ground level, so selecting materials rated for your specific environment is a must.
If you want guidance beyond basic instructions, several resources offer detailed walkthroughs for different foundation types and climates. These guides often include tips like how to identify hidden leaks behind drywall or the importance of checking gutter and downspout function before sealing foundation walls. Adding drainage improvements around your home can relieve hydrostatic pressure and complement your waterproofing efforts. Repair kits for cracks or damaged concrete are handy tools to keep on hand during these projects.
Staying updated on advances in waterproofing technology helps avoid outdated methods that might fail sooner than expected. Subscribing to construction or home maintenance newsletters can provide timely product reviews and installation advice. Knowing which materials have improved flexibility or environmental resistance lets you make smarter decisions. For example, newer liquid membranes may incorporate additives that resist mold growth or improve adhesion under wet conditions.
Exterior waterproofing is about more than just stopping water entry; it protects your property’s value over time. Understanding how liquid membranes work and preparing your surfaces properly sets you up for success. For those interested in exploring comprehensive approaches further, visit foundation repair guidance for useful information.