When doing an outdoor camping adventure, there is an immense need for power. If you want to introduce a fridge, a TV, special lights, or a customized music system, you may find it ideal to identify a dependable source of power. Your van’s battery cannot support all these devices and equipment.
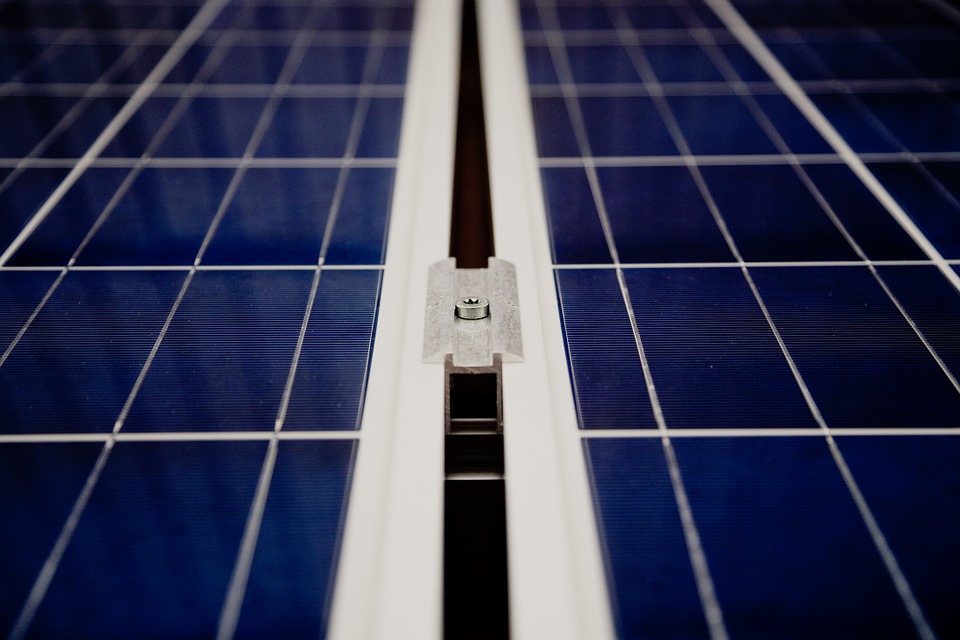
With flexible solar panels, you can power your battery and the battery is able to power the appliances easily. This ensures that your camping fun is uninterrupted by power shortages.
Most camping equipment will require the use of direct current (battery power). However, there are others that need alternating current (electricity). In this case, your flexible solar panel set needs to be supported by an inverter. The inverter is able to change the power from direct current to alternating current.
To ensure that you have a smooth experience when installing the solar panels on your camping van, here is a quick overview of the simple steps that you can follow:
Step 1: Assemble the Supplies
You are required to prepare all the materials that you need to install the flexible solar panels. Some of the materials that you will need include:
• Solar panels’
• Lap sealant/seal tape
• Water-tight tape/screws
• Extension cables
• Solar charger controller
• Drill
• Battery
• Inverter
Step 2: Choose the Mounting Method
There is no other best spot to mount your flexible solar panels than on the roof. For instance, mounting the solar panel on the roof is more convenient and secure than other locations. In this step, you also need to decide how you’ll mount the panels. There are two ways to do it:
• You can drill the roof and mount the solar panels using screws or
• You can use the water-tight tape to attach the solar panels on the roof
Step 3: Mount and Seal the Panels
Once you have identified how to mount the flexible solar panel, you should go ahead and do it. Then, you should seal the edges with a lap sealant. If you had opted to screw the panels, then you should seal the screw holes using a seal tape.
Step 4: Connect the Extension Cables and Other Appliances
Lastly, you should fit the extension cables, the battery, the solar charger controller, and the appliances that you’ll need to power when camping.
With these four steps, you can install flexible solar panels on the roof of your camping van easily. They are easy to follow and you can do them all by yourself—no need of paying for an installation expert.


