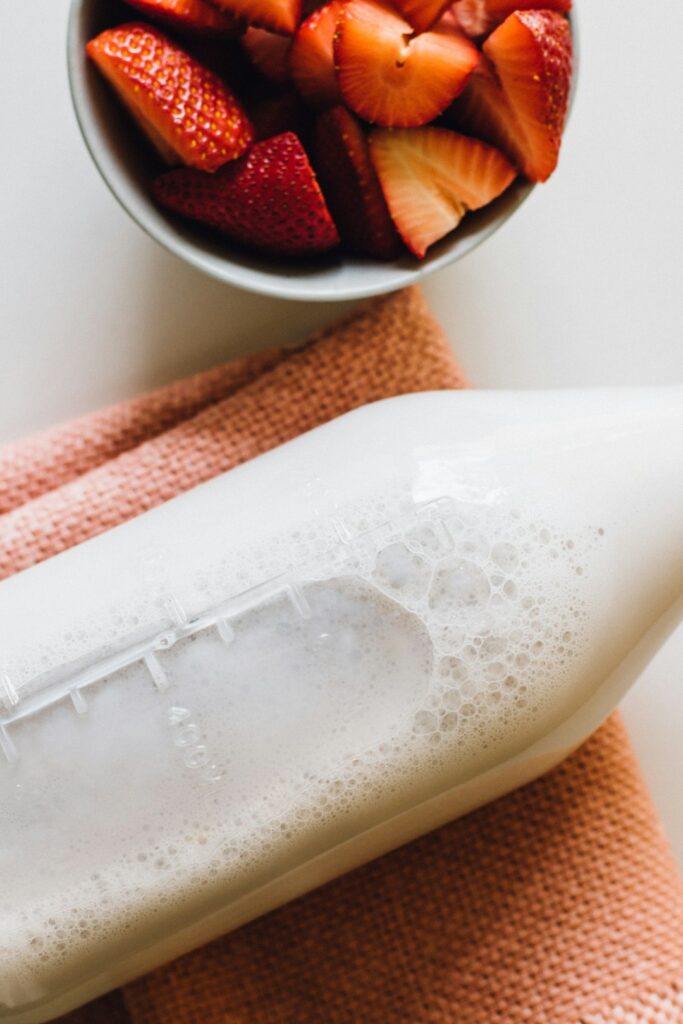

Choose a culture suited to the liquid you plan to ferment. Milk kefir grains are adapted to lactose and dairy, while coconut water cultures are intended for sweet, non dairy liquids. Similar appearance does not make two cultures interchangeable. A product sold as coconut kefir grains uses available sugars as fermentation proceeds. The resulting acids lower the drink’s pH and create its tart flavor. That change can make conditions less favorable for some unwanted microbes, but fermentation does not make a questionable ingredient safe or eliminate every microorganism.
For the first batch, wash your hands and use a clean glass jar, spoon, and straining equipment. Add coconut water and the culture according to its care directions, leaving space above the liquid. Cover the opening with a breathable barrier or secure cover that keeps out dust and insects without creating unnecessary pressure. Set the jar at moderate room temperature away from direct sunlight. Temperature, sugar content, liquid volume, and culture activity all affect the pace. A cool kitchen may need more time, while a warm countertop may produce a sharper drink sooner, so taste a small sample as it develops.
Keep fermentation separate from sterilization in your thinking. Fermentation changes the food through the activity of selected organisms; a home setup does not remove all microbes. Clean equipment lowers avoidable contamination, but it cannot replace judgment. Discard the batch if you see fuzzy mold, detect a rotten odor, or notice an unexplained color change. A sour, yeasty smell and some sediment can occur normally, yet smell and appearance are not laboratory tests. If the drink seems questionable, do not taste it. After straining, refrigeration slows activity, although it does not stop fermentation entirely.
Fizz is optional and usually comes from carbon dioxide made by yeast. A sealed second ferment can trap that gas, but pressure may rise quickly in a warm room. Adding fruit juice or another sugary ingredient gives the yeast more fuel, so the bottle can become more active than expected. Use a pressure rated bottle, leave headspace, chill it before opening, and release pressure slowly over a sink. Check the bottle before serving rather than assuming a familiar recipe behaves identically each time. If you will be away for a weekend, skip the sealed step and drink the strained kefir without carbonation.
The culture needs a repeatable feeding routine. Once the liquid has fermented, strain the drink and return the grains to fresh sweet liquid rather than leaving them exposed to air or allowing them to dry. If the next batch must wait, short term refrigeration may reduce activity, but follow the supplier’s storage directions because longer pauses can weaken performance. Keep a note on the jar or in your phone with the date, liquid volume, room temperature, and time strained. That small habit prevents guesswork. A sweet result may need more time or a healthier active culture; a harshly sour result may have gone too long.
A dairy free fermented drink can suit someone willing to spend a few minutes on recurring care and accept variation between batches. It is less convenient than opening a ready made beverage, and live cultures do not prove a particular benefit for every person. If fermented foods are new to you, begin with a small serving and stop if it causes problems. Before starting, read the culture’s instructions rather than relying on a generic recipe, especially for feeding and storage. For practical fermentation care guidance, record what changed between batches and adjust one factor at a time, such as temperature, duration, or liquid volume.