
Dot size is usually expressed in MOA, or minutes of angle. The measurement describes the angular size of the aiming point, so a smaller dot covers less of a distant target and a larger dot tends to be easier to pick up quickly. Neither size is universally correct. Eyesight, target dimensions, distance, and ambient light all affect the result. Excessive brightness can make a dot appear bloated, star-shaped, or difficult to distinguish from the target. Set the brightness high enough for clear visibility in the current light, then lower it when glare begins to obscure the aiming area. Test that setting outdoors rather than trusting an indoor range alone.
Parallax describes the apparent shift of the dot against the target as the eye moves behind the optic. A pistol sight may be designed to minimize that shift, but the shooter still needs a repeatable presentation. If the dot is missing after the draw, moving the head around to hunt for it usually wastes time. A consistent wrist angle, firm support-hand pressure, and a grip established during the draw make the window easier to find. Unloaded dry practice can reveal whether the dot appears near the center of the window. Practice only in a safe direction, remove ammunition from the area, and follow the firearm’s manual and applicable safety procedures.
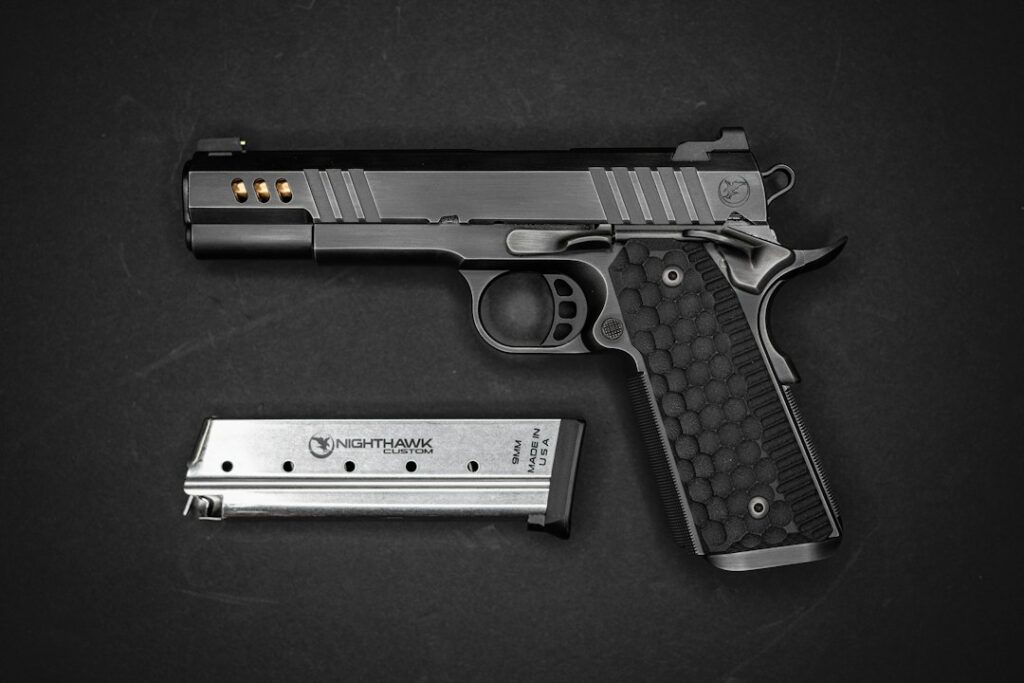
Mounting details deserve the same attention as the electronic features. Confirm the pistol’s optic cut or adapter plate pattern against the sight manufacturer’s fitment information before ordering. Check the specified screw length, thread treatment, and tightening procedure in the current installation instructions. A screw that is too long can interfere with internal parts, while insufficient tension can let the sight move under recoil. Keep the installation document with the pistol’s records, and mark the fasteners only if the manufacturer permits that practice. A properly selected pistol red dot sight still needs correct hardware and careful installation.
Zeroing establishes the relationship between the dot and the bullet’s point of impact at a selected distance. Start with a stable supported position so that sight adjustment is not confused with movement from the shooter. Fire a confirmation group, make small corrections according to the optic’s adjustment markings, and record the distance and ammunition used. Afterward, verify the zero from a normal standing position. Recheck it after the pistol has been transported, cleaned, or subjected to substantial practice. Co-witnessing can provide an additional reference through the window, but the sight height must match the pistol, optic, and holster. Iron sights that dominate the window may become a distraction rather than a backup.
Battery access should be assessed before the optic is installed. Some designs allow replacement from the top or side, while others require removal from the slide, which may mean confirming zero afterward. Read the low-battery warning procedure and determine whether the sight uses manual controls, automatic brightness adjustment, or both. Automatic adjustment can be useful across changing light, but manual control may be easier to predict in a particular environment. Keep a spare battery in a labeled container and write the installation date in a maintenance log. A quick check before leaving a dim indoor range for bright sunlight can prevent discovering an invisible dot at the worst moment.
Training with the optic involves a different visual sequence from using iron sights. Instead of deliberately aligning a front sight with a rear notch, present the pistol so the dot enters the window as the gun reaches the target. Begin with slow, unloaded presentations, then use live fire at a distance where the sight picture is easy to evaluate. Include draws from the actual holster, transitions between target sizes, and changes from low to bright light. Increase speed only after the dot appears consistently. If the dot disappears, return the pistol to the holster or ready position and repeat the presentation rather than making random head movements. A reflex sight for pistols is useful only when the user’s process supports it.
Before buying, compare the optic footprint, slide cut, window size, housing dimensions, control layout, battery compartment, warranty terms, and expected exposure to weather and recoil. Check that the finished setup fits the intended holster and does not obstruct a safe draw or reholstering procedure. For competition or frequent range use, a larger window may make tracking easier. For concealed carry, the optic’s height and edges can matter more than a long feature list. Inspect the lens for residue, confirm that the dot remains visible at a practical brightness, and look for movement at the mount during routine checks. Those small habits reduce rework and make problems easier to identify before the next session.